 Welcome to the New WiseStamp - want to learn more?
 WiseStamp
Setting your email signature in your Mac
WiseStamp for Apple Mail, Mac Mail.
Adding your WiseStamp email signature into Mac Mail is super easy.
STEP 1
Click on your signature below, click ⌘+A (to select it) and ⌘+C (to copy it).
Important – Make sure to use
Chrome Browser (Safari or Firefox will mess up your copy/pasting and templates)
Please note that after exporting, any dynamic apps you have in your signature will not update automatically. Dynamic apps, (such as the RSS feed, Recent Tweet, and Random Quote, etc.) update every 12 hours with the use of the WiseStamp extension. Since exported signatures do not use the extension these apps will stay static. If you wish to show an update simply go to webapp.wisestamp.com. When your signature loads click the green "save changes" button and export your signature again.
STEP 2
In Apple Mail Click ⌘+ (or Choose “Mail”, then “Preferences” and then “Signatures”)
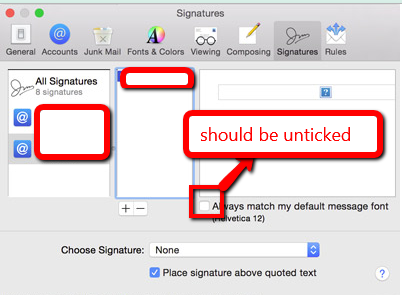
With the new Mac update to Sierra, MacMail settings have changed slightly.
Before exporting your signature go to your signature settings and make sure
the option to "Always match my default message font" is NOT filled in.
Before exporting your signature go to your signature settings and make sure
the option to "Always match my default message font" is NOT filled in.
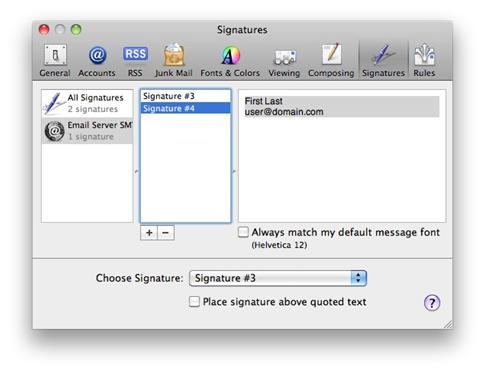
STEP 3
Choose “All Signatures” to add the signature to all accounts or choose a specific account.
Click the “+” icon to add a new signature and Paste (⌘+V). That’s it!
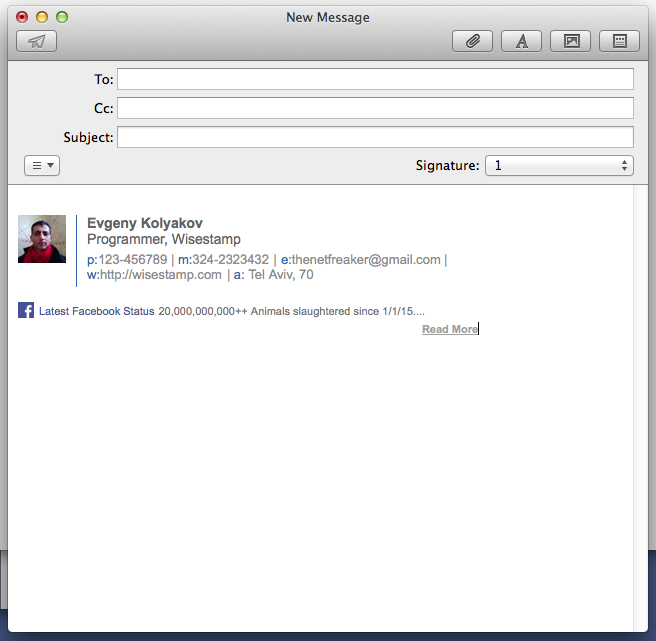
Important – In the signature settings, you will not see images (see below)
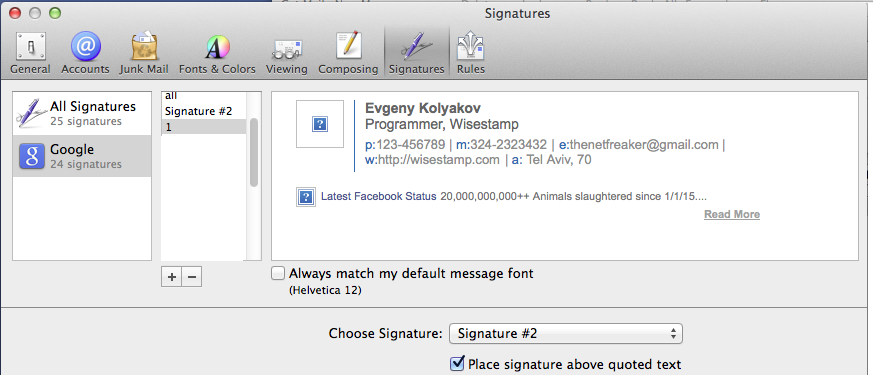
However, images will appear correctly once you compose a new email (see below)
|
|
Tips:
|